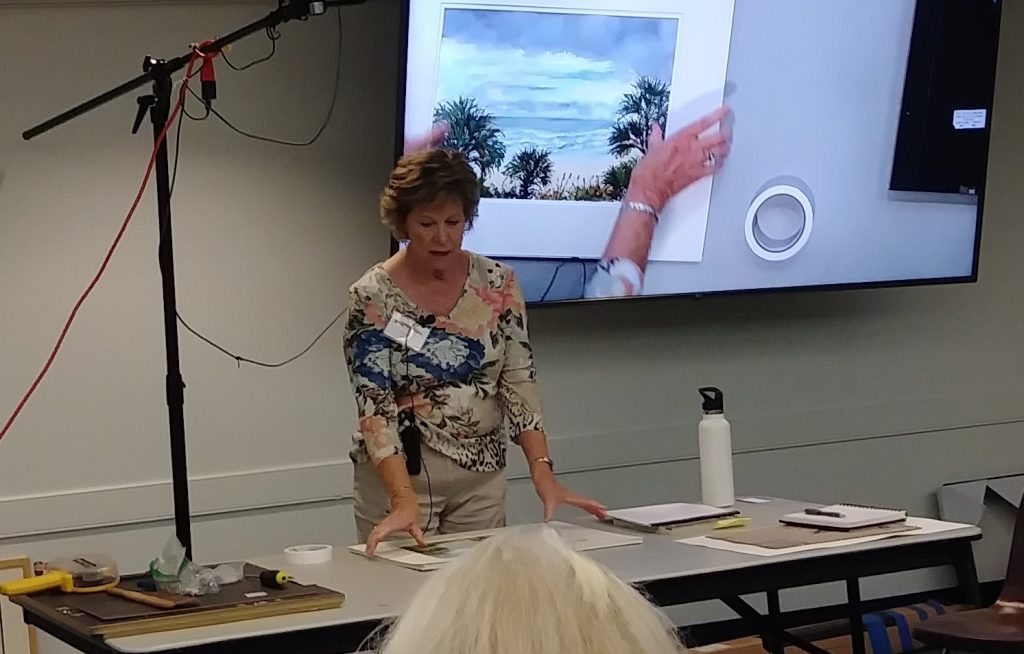
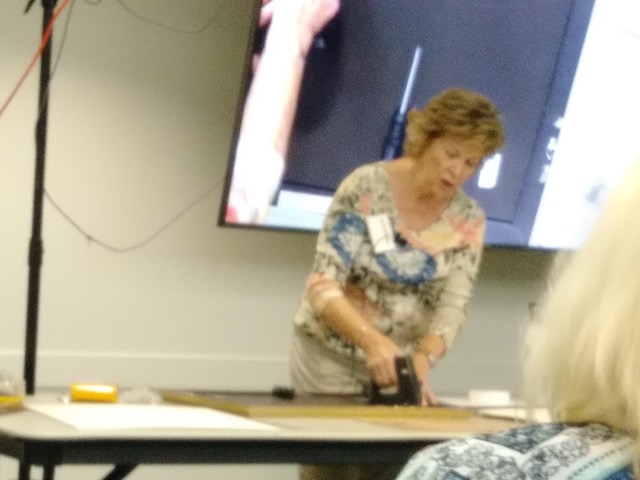
We had a wonderful, instructional pair of demonstrations on how to frame your painting, once it is finished. The first artist was past president Cindy Sturla, who showed us the tools used for mounting and framing.
Materials: Frame, acid free mat, acid free foam core, UV plexi
Steps to framing:
All of these material are archival, which means your painting will not fade or be affected by anything touching it.
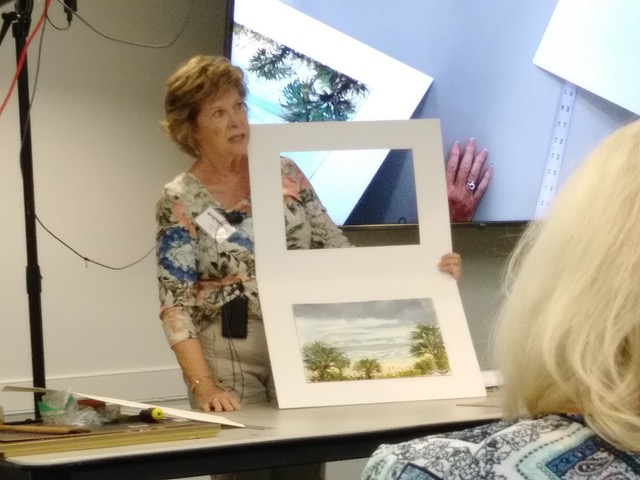
#1 Use framers tape to tape the mat to the foam core in the direction it will be hanging. Either horizontally or vertically.
#2 Place painting in the center of the foam core and lower the mat over the painting. Be sure it first into the mat without the edges of the painting exposed in anyway. Put a weight on the painting so it won’t move.
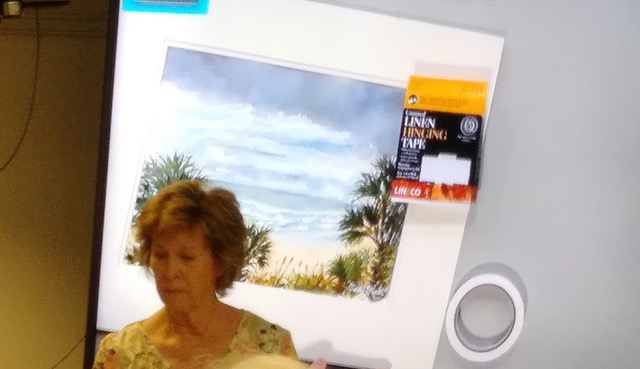
#3 Cut two pieces of tape for each hinge you will be using on the painting, one shorter and one longer. If you have linen tape it will need to be moistend to activate the clue on it. Take the smaller piece of tape and place it sticky side up and attach it to the underside of the top of the painting about 1/2 “ from the top. The second long piece of tape goes over the sticky side of the tape and secures it and e painting to the foam core. ( see illustration, note hinge is the tape securing the painting to foam core) If using linen tape let it dry completely before putting in frame.
#4 Remove the covering from both sides the UV plexi. It’s there to protect it. It’s very easily scratched. Clean with spray of water with a drop of dishwashing detergent. Never use Windex or any other window cleaner It will affect the UV protection.Use a very soft cloth to clean the plexi.
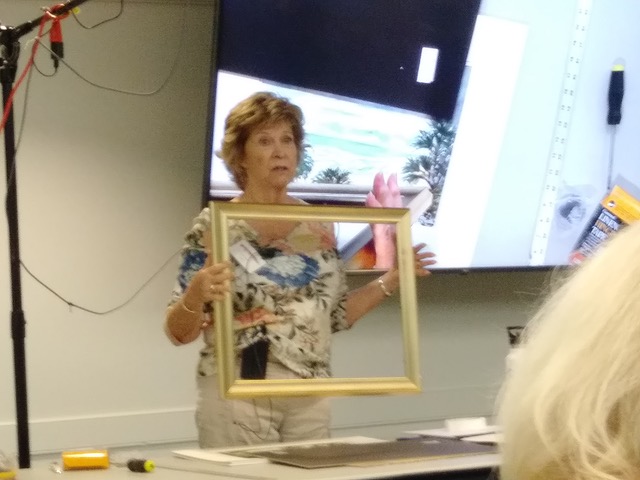
#5 Place plexi and painting, mat, and foam core in frame. Use a point driver to secure the painting in frame. ( Point driver can be ordered from any online art store). Never use tape to try to secure painting in frame.It doesn’t work.
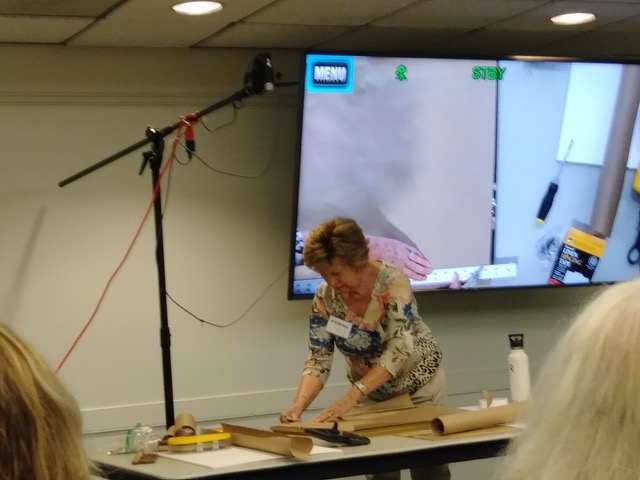
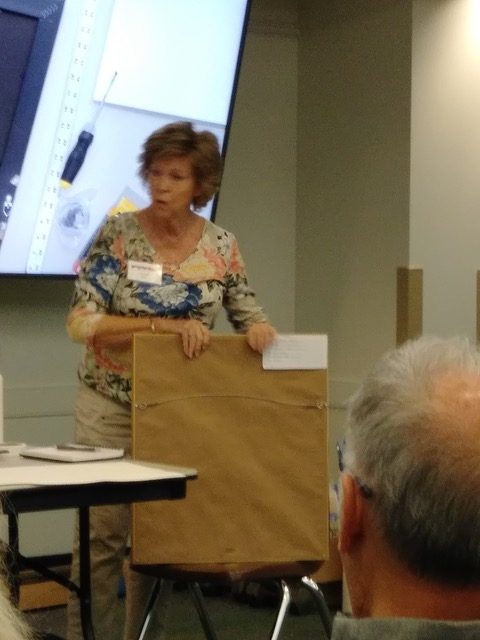
#6 Finish back of painting. Use double sided tape on the edges of back of frame. Cut brown paper to size and attach it to back of frame. Use a metal yard stick ruler and box cutter or xacto knife to remove excess paper.
#7 Measure 1/3 of the way down on each side of frame and mark. Use 1 or 2 hole hangers on each side and screw them into frame. Cut framing wire 2 to 3 inches longer on each side and run through the hangers twice to secure and tighten the wire. Wrap the excess wire around wire on both ends.
Now you have a beautiful professionally frAmed painting !!!

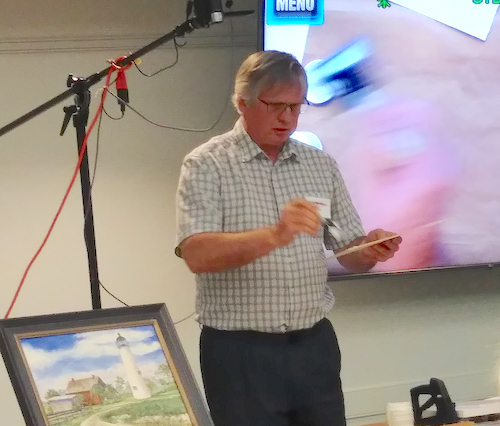
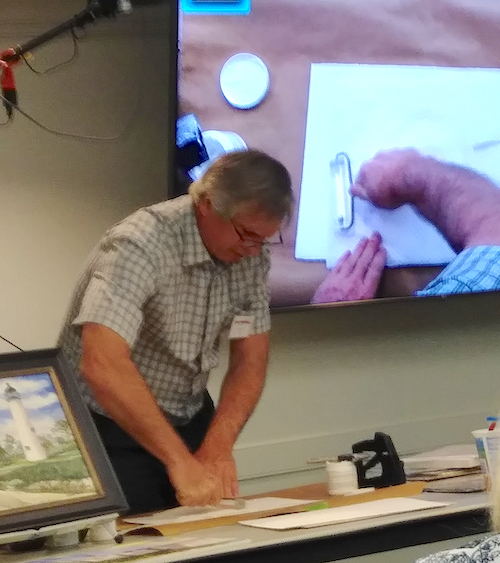
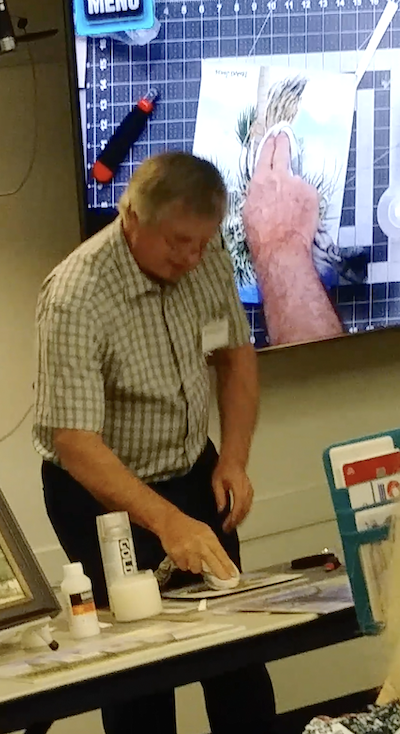
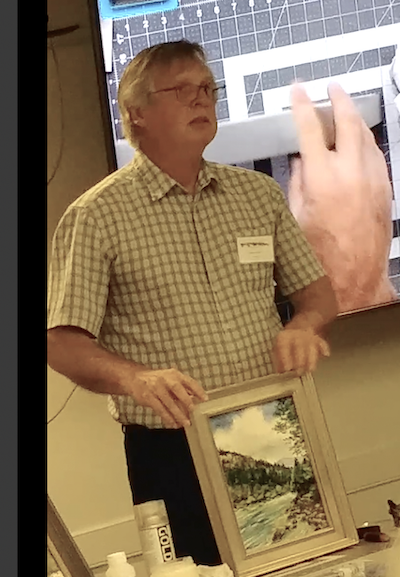
STEWART JONES DEMONSTRATION:

Our second demonstrator was another former president, Stewar Jones. He was inspired by Brienne M. Brown, on YouTube, who has videos that show how to finish a painting and frame it without glass, using varnishing.
He showed us several different options, because he is also needs to decide which one, he thinks is best.
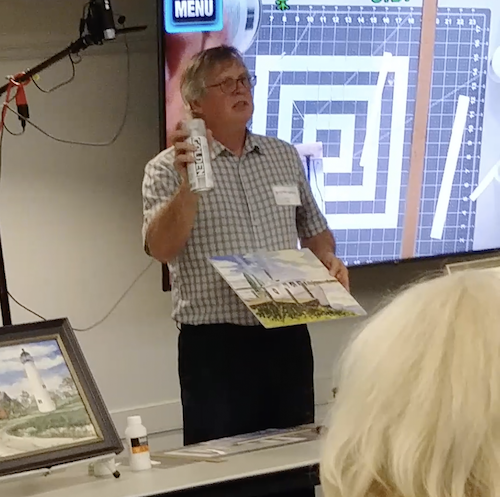
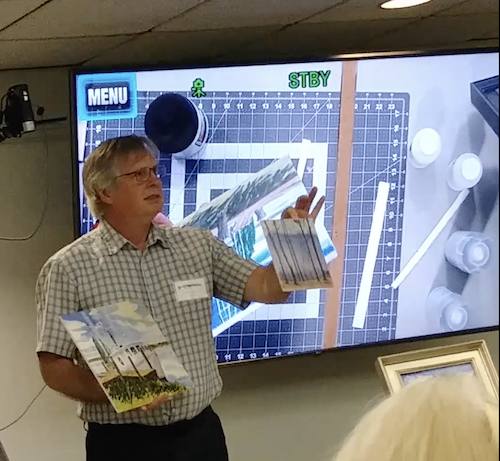
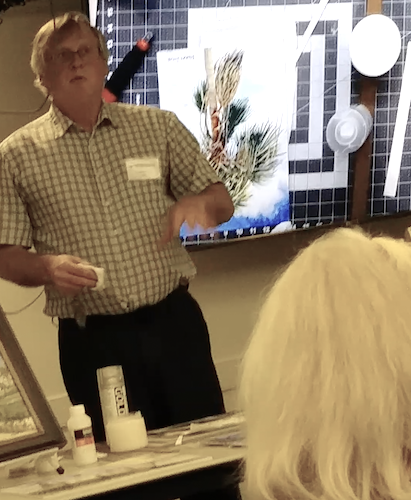
Glue 140# Arches to a Cradleboard, which come in natural or white color. Alternatives are Foamboard, gator board, or Aqua board.
Trim with a Utility knife with snap off blade.
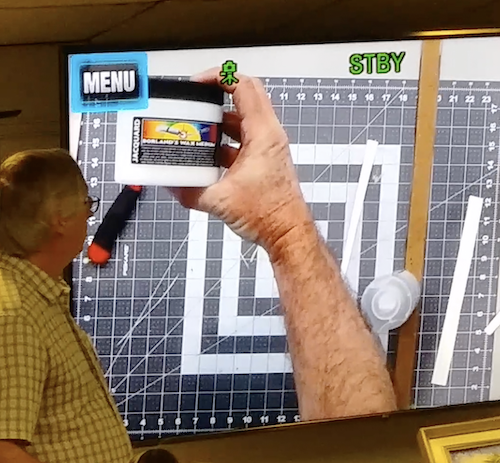
Use an archival varnish, like Golden UVLS, and spray the art … outside. Varnishing will change the appearance of the art. Stewart will use a total of 6 coats of 3 semi-gloss and 3 of gloss. Gloss will pull out some darks, where matte or semi-gloss will lighten your painting. So, choose which will work for each painting.
Another option is a watercolor board, Tom Jones also likes to use these.
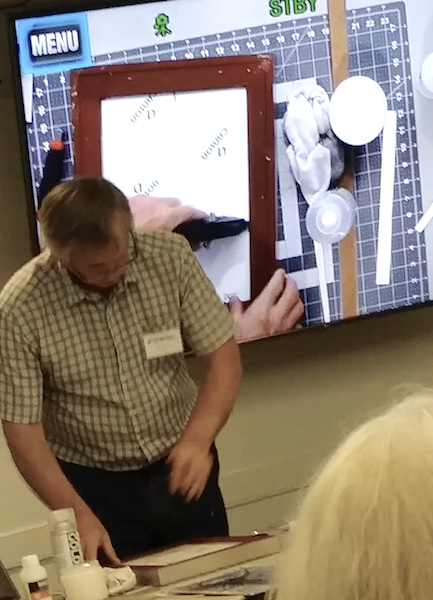
You can choose to use wax medium to finish off the varnished art. Take a lint free cloth to scoop out the wax and rub onto the varnished painting.
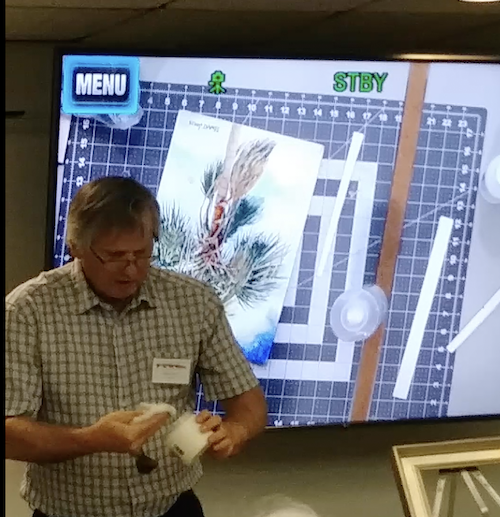
You can also add Jacquard Dorland’s Wax Medium on top of the varnish. You may choose to brush on Liquitex satin or matt varnish instead of wax. Plein-Air painters are using this method exclusively now. The wax protects the varnish and the varnish protects the art from UV light. So, in the future, a conservator can have the wax removed and have the painting cleaned and the wax reapplied.
To frame the final art just put it into the frame and take a picture framers gun to secure it into the frame and you are done!
Thank you Stewart and Cindy for a great instructional demonstration!
For more information on these techniques, check out Brienne M. Brown on YouTube: https://www.youtube.com/watch?v=8Mf1O-yxcHI
https://www.stewartjonesart.com
Leave a Reply
You must be logged in to post a comment.