Janet Rogers is an award winning, intuitive painter. She embraces the fluidity and abstract nature of watercolor in her paintings of flowers and people. There are several good YouTube videos of her technique.
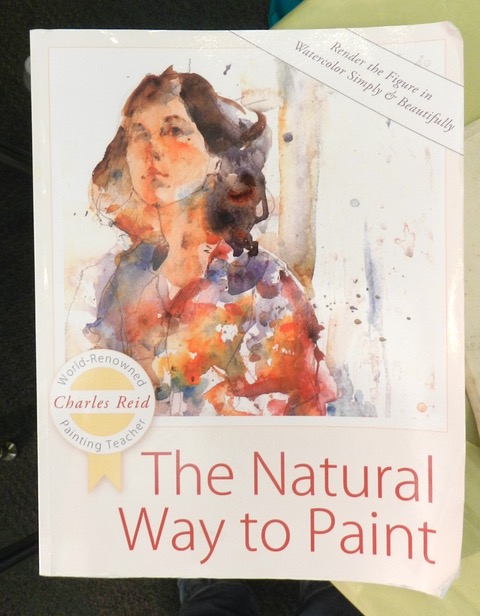
She has been influenced by Charles Reid’s “The Natural Way to Paint” and the book “Two Worlds of Andrew Wyeth.” Wyeth says it’s important to feel and see, not just see.”
Drawing: We started by looking at how to draw the head. The head is an egg-shaped oval. Looking straight at you, the ellipse of the eyes is a little bit above the middle of the oval. The nose is halfway between the eyes and chin, and the mouth is halfway between the nose and chin. The ears start level with the corners of the eyes. If the figure is looking up, the nose is higher and you can see the nostrils, under the chin, and some of the neckline. When looking down, one will see more of the top of the head and more hair. The eyes are always one eye-width apart. Never put the highlight in the middle of the eye but always have it in the same position in each eye. Shadows play a big part in showing where the figure is looking.
We all learned a new word- philtrum. It’s the vertical indentation in the middle of the upper lip. Putting in this shadow can make all the difference in drawing the mouth. The bottom lip is moving away from the light and needs a highlight on the side facing the light source and shading at the corners. Placing a small vertical line at each corner of the mouth helps to define the mouth.
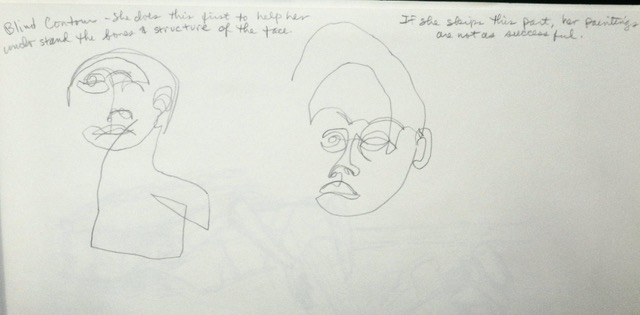
Exercise #1: Blind contour of model without looking at the paper, or lifting the pencil. While doing the drawing, the artist does not look at the drawing paper or lift the pencil off the paper. Looking only at the photo or model, you start at the top and work your way down by going from side to side, trying to feel the ins and outs of the shape.
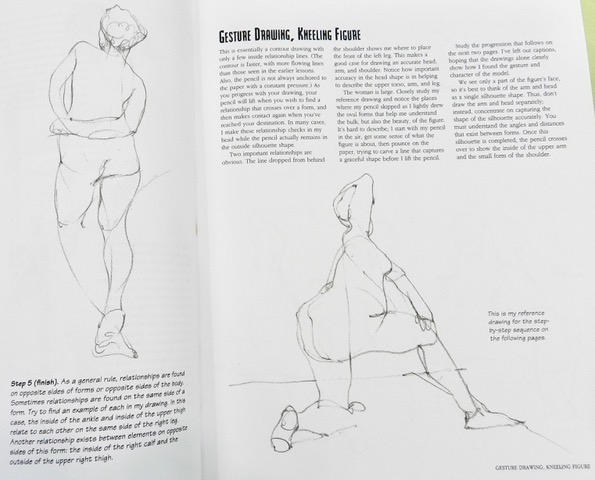
Exercise #2: Gesture drawing. For this we concentrated on the movement in the figure. The head sets the tone for the gestures of the entire body. Starting with the angle of the head, you then draw the angle of the spine and placement of the bones before sketching the rest of the shape. Janet emphasized that it is critical to know the shape and structure of the body before you can paint it. A detailed drawing is the foundation of the painting.
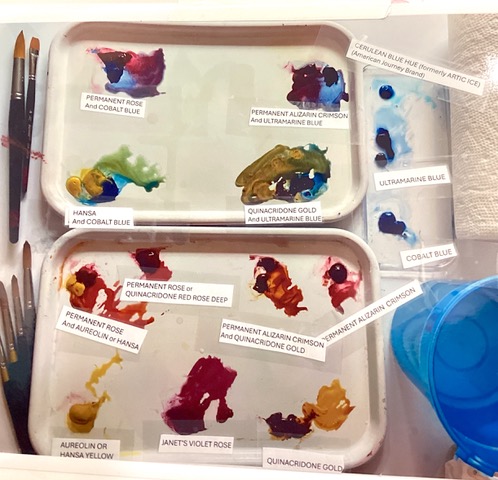
Painting: Janet likes to use a limited palette. She uses two plastic butcher trays and six colors. For light to mid values, she uses a lighter triad of Aureolin, Permanent Rose, and Cobalt Blue. The mid to dark values are created with Quinacridone Gold, Permanent Alizarin Crimson, and Ultramarine Blue. She also uses Cerulean Blue Hue, aka Arctic Ice, from American Journey which is not the same as Cerulean blue. She has her own color, Janet’s Violet Rose, from American Journey which is built on Sennelier’s Cobalt Violet Blue. She recommends American Journey Interlocked synthetic brushes with the green handles.
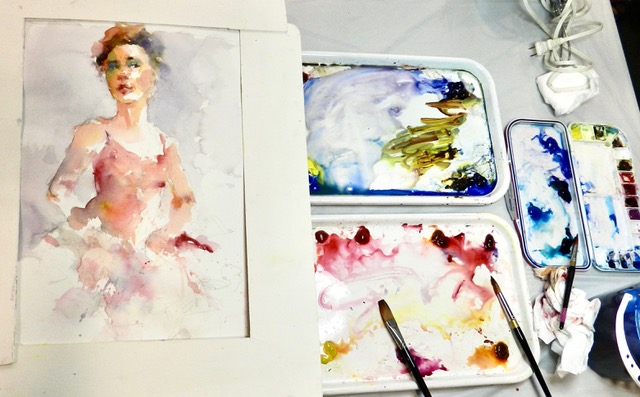
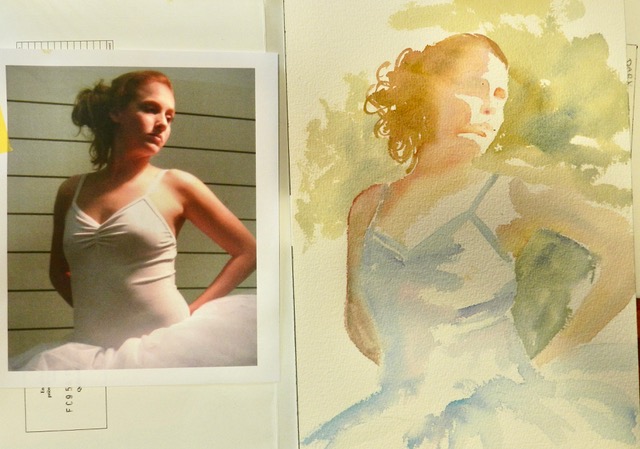
She will use the darker tones for shadows and tip in blues. She will then connect the shadow shapes down the side of the head and combine hard and soft edges. She reminded us several times that “holes in the head are [painted] red.” She will use a Caran d’ache white Swiss pencil for the highlight of the eye at the end if she has lost the highlight while painting.
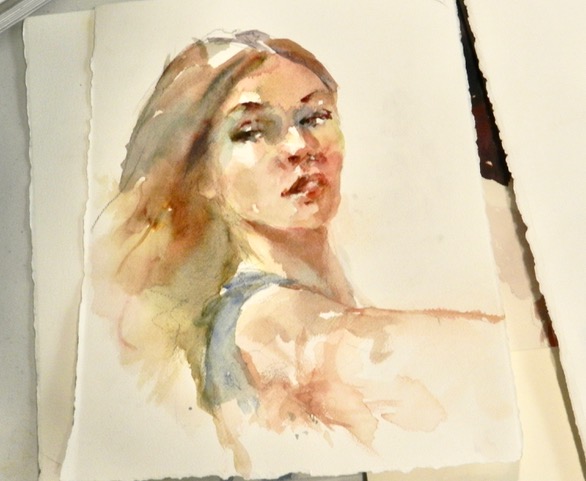
Janet usually paints wet on dry paper. She drops in colors and then uses the side of her brush to smush the paint around. She will add more color or darken the area while the paper is still wet. She encouraged us to play with the colors. We weren’t there to create masterpieces so she wanted us to just have fun! She said, “Every time you change it, it changes!”
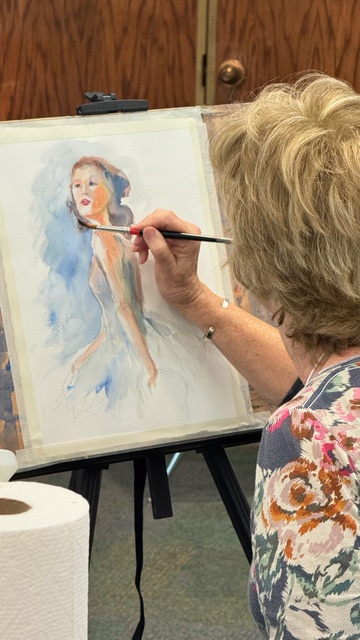
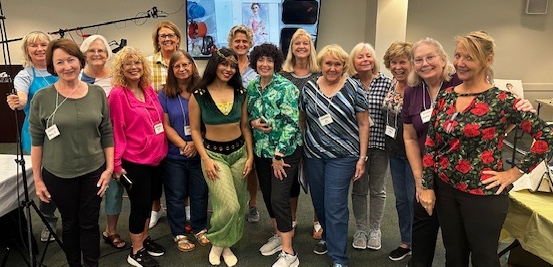
Everyone who attended the workshop learned a lot and had fun with Janet and each other.
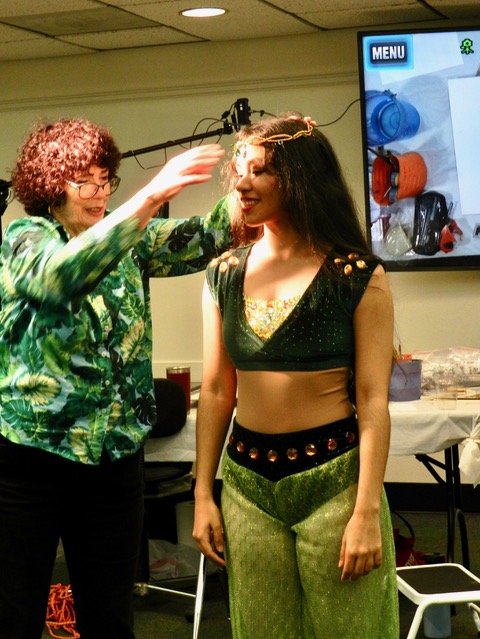
Janet Rogers artist statement: “I love the qualities of watercolor – its fluid nature. To me, the interaction of artist with the medium is like a dance – full of motion, feeling and expression. I love to watch the painting develop and to discover new color and composition. As a teacher, I would like to enable students to find their connections with watercolor in new and expressive ways.”
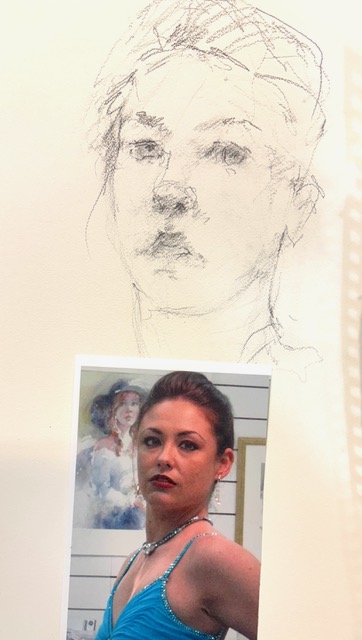
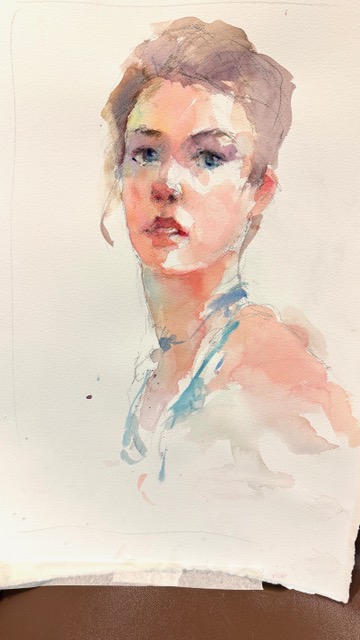
Sketch on left and finished painting on right – done by Janet.
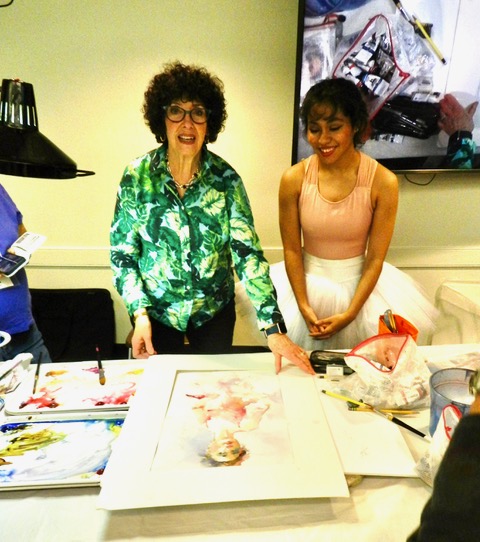
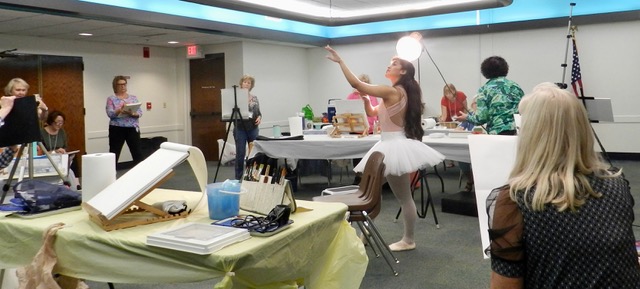
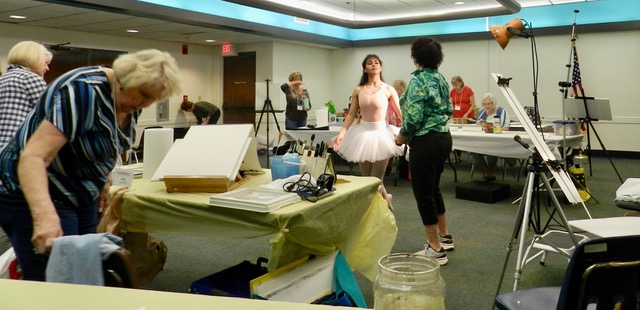
Thank you Janet for a wonderful and fun workshop. We larned a lot. And a big thank you to our ballerina, Mia, for her patience and talent!
To see more of Janet’s art, click on the link:
https://www.watercolorsbyrogers.com/pages-janet/janet-rogers-aws.html
(photos courtesy of Terri and Lois)
