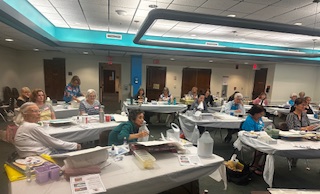
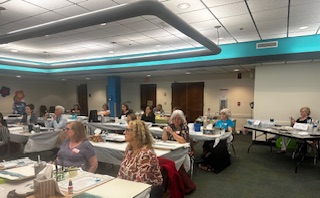
There was a full house at the Feb. 16 Pop Up workshop by our own member, Tom Jones. He has been a member of CFWS for many years and has always generously supported our society!
Bonnie Jones was also there to help with the art DVDs and many students took advantage of the opportunity to purchase quality brushes and teaching DVD’s.
This fun afternoon was a real team effort, Terri set up the camera and assisted as needed while Lois H. provided refreshments and all the participants helped with room setup and tear down. Hard working Mary D. organized and set up this fabulous workshop and made sure everyone had what they needed for a successful experience.
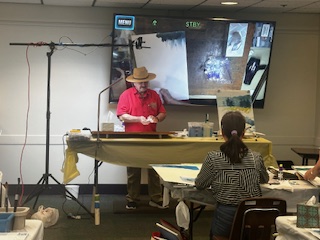
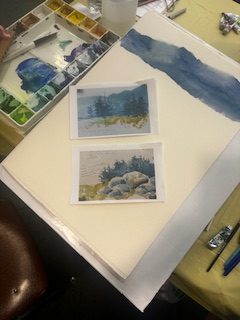
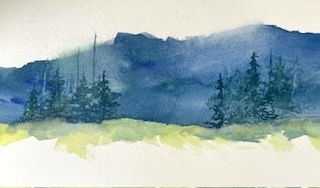
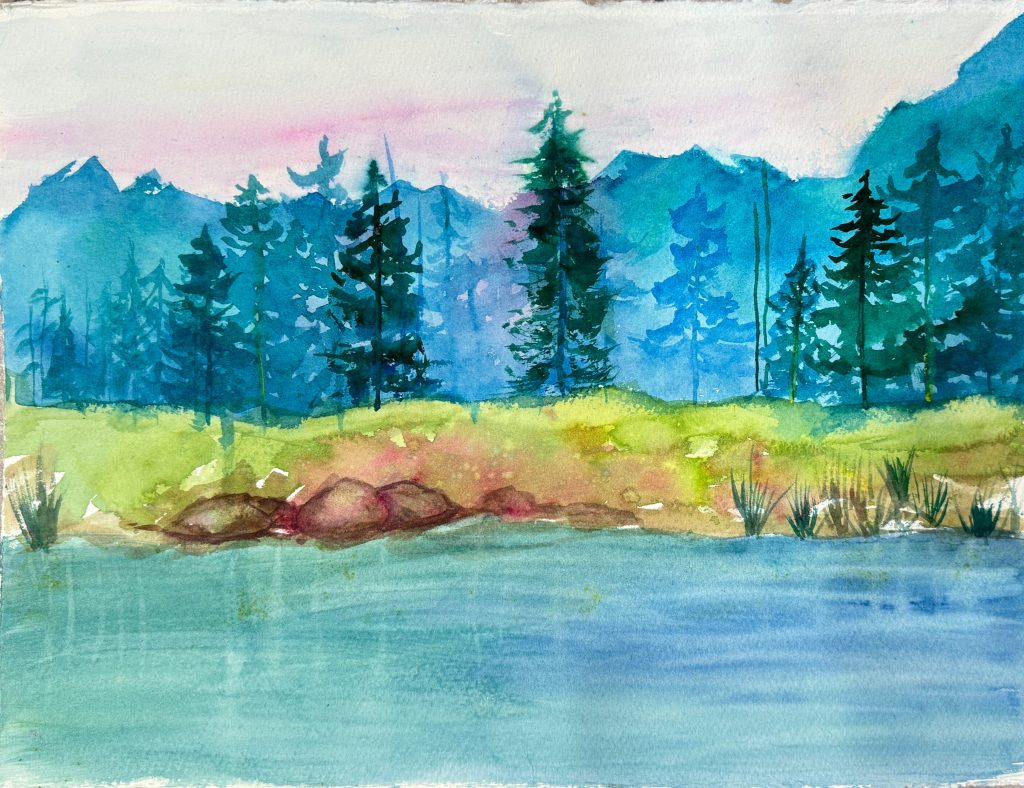
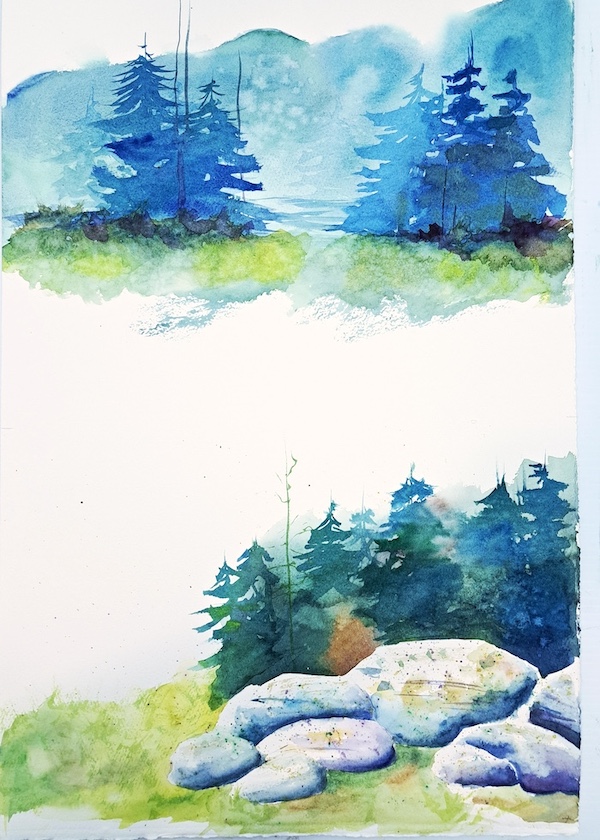
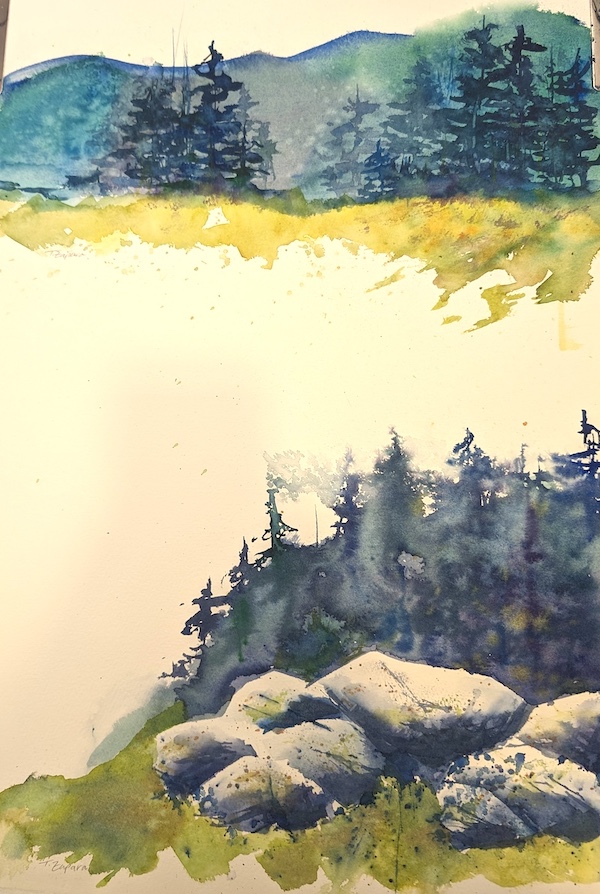
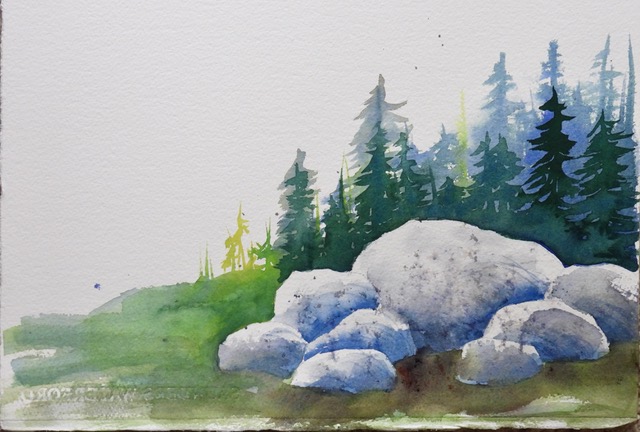
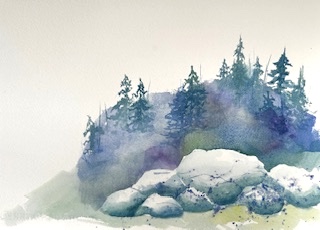
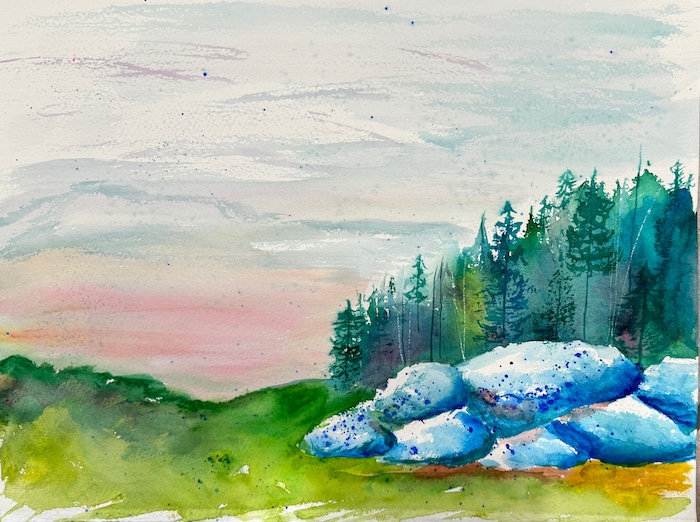
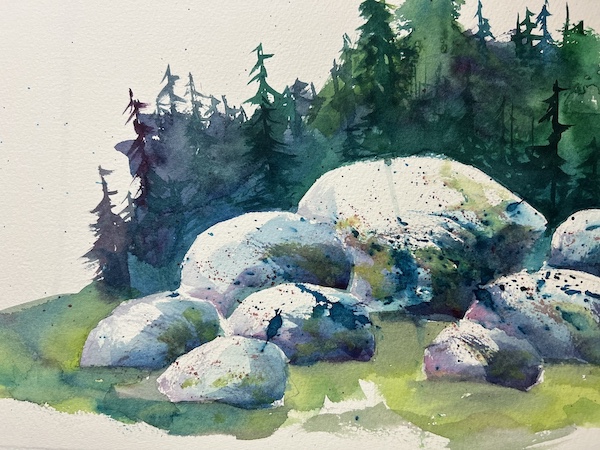
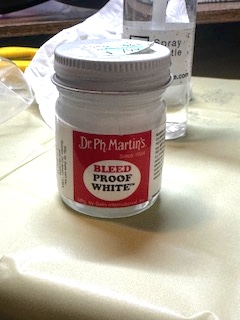
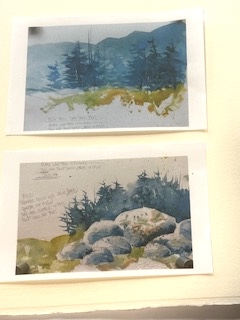
Tom Jones begins to guide the class along in a step by step workshop on painting trees, rocks and landscapes in watercolor on 300# paper.Mary’s photo of the sample prints we used as guides and her supplies.Mary’s painting – We are painting on 300# watercolor paper. Start with mountains in dark blues, Ultramarine or Cobalt and a bit of green. Lay in the colors and leave it alone. Lois’s painting – Use a rigger brush (Not liner brush) to make the trees. Then, when dry, do a green with yellow and blue or tip in red. Put the green under the trees. Also paint over the pale trees on the left. . with a darker blue mix of trees and add some dead trees, not perfectly. Add some touches of magenta or violet in the trees.Leslie’s 2 paintings of the trees and rocksThouraya’s 2 paintings of the landscape workshop.Terri’s painting – sketched the rocks at the bottom of the paper. (Thomas Moran landscape painter 1846-1929 is an inspiration for Tom) Splatter a mauve with a pointed brush then spray with water bottle. (Nita Engle technique) Don’t overpaint the rocksMary’s painting – Sketch the rocks out first and overlap. Paint some shadows, darks, at the base of the rocks. Use 1” or 1.25” flat brush then round brush for details. Put in the first wash of blue shadows and let dry. Now add juicy trees behind the rocks. Lois’s painting – Don’t make a “halo” around the rocks, with your trees. Use blues, greens, yellows and touches of red or purple. Put some texture in the rocks by lightly dragging blues the rigger brush over the rocks in, an arching fashion. Above the trees when dry, use a credit card, or razor, or Dr. Ph Martins Bleed Proof white, to scratch or paint in white tree trunks. Joan’s painting – Transfer some of the greens down into the rocks and play with also adding violets or rose colors tint. Put a second layer of trees in the painting. Break up the design a bit. Above the trees when dry use a credit card, or razor, or Dr. Ph Martins Bleed Proof white to scratch or paint in the white tree trunks. The reference images that Tom gave us to use a guides.
TIPS THAT WERE SHARED:
– If you register with Dick Blick and other online companies you can take advantage of sales they offer.
– To paint rain, put blue mix in the sky then drag a tissue down to make it look like rain. Attempt a task 7 – 10 times to become good at it.
– Stay away from circles, squares lines and other man-made shapes. Overlay them.
– Mary used a Lowes’ foam board ½” thick, and covered it with white contact paper. It is light weight and can be a good backing for your watercolor paper. Cut it to the size you need.
Tom has been teaching for many years and the workshop was filled with fun, humorous stories, and we learned a lot! Thank you, Tom!
Tomjonesartist.com – he’ll be posting upcoming workshops there.
“The purpose of the
Central Florida
Watercolor Society
is to contribute to
the cultural atmosphere
of Central Florida
by promoting interest,
education and participation
in the art of watercolor.”